VirtualBox on Windows 11: Beginner's Guide
This is a beginner's guide to setting up and using VirtualBox on Windows 11 for getting started with virtualization. The intended audience is anyone with no experience in virtualization. This guide covers basic concepts of virtualization and provides step-by-step instructions to install VirtualBox on Windows 11. If you have experience with virtualization, you might find this guide too basic.
Have you ever wanted to run multiple operating systems on your computer without installing them on your physical machine? Or maybe you wanted to test some software or configurations without affecting your main system? If so, then virtualization might interest you.
What is Virtualization?
Virtualization is a technology that allows you to create virtual machines (also known as VMs)1 that can run different operating systems and applications on a single physical machine. This means you can run multiple operating systems on the same machine, switch between them easily, and keep them isolated from each other.
The essence of virtualization is that it allows you to create a self-contained environment that behaves like a separate computer but runs on top of your existing hardware.
In later articles, I will cover more advanced topics related to virtualization, such as hypervisors and their types, comparing different virtualization software, creating and managing virtual machines, configuring networking, using snapshots, and more. But for now, let's focus on getting started with VirtualBox on Windows 11.
What is VirtualBox?
VirtualBox is a free and open-source hypervisor2 that allows you to create and manage virtual machines on your computer. It is developed by Oracle and supports various operating systems, including Windows, Linux, macOS, and Solaris. VirtualBox is easy to use and has a user-friendly interface that makes it simple to create, configure, and run virtual machines. It also supports advanced features such as snapshots, shared folders, and network configurations, making it a powerful tool for virtualization.
Environment Details
This guide is specifically for installing VirtualBox on Windows 11. The installation process may vary slightly depending on the version of Windows you are using. Similarly, the steps may differ based on the version of VirtualBox, but the general process should be similar. If you are using a different version of Windows and VirtualBox, you can still follow this guide with minor adjustments.
| Version | |
|---|---|
| Windows 11 | 24H2 |
| VirtualBox | 7.1.12 r169651 (Qt6.5.3) |
Installing VirtualBox on Windows 11
To install VirtualBox on Windows 11, follow these steps:
Download VirtualBox
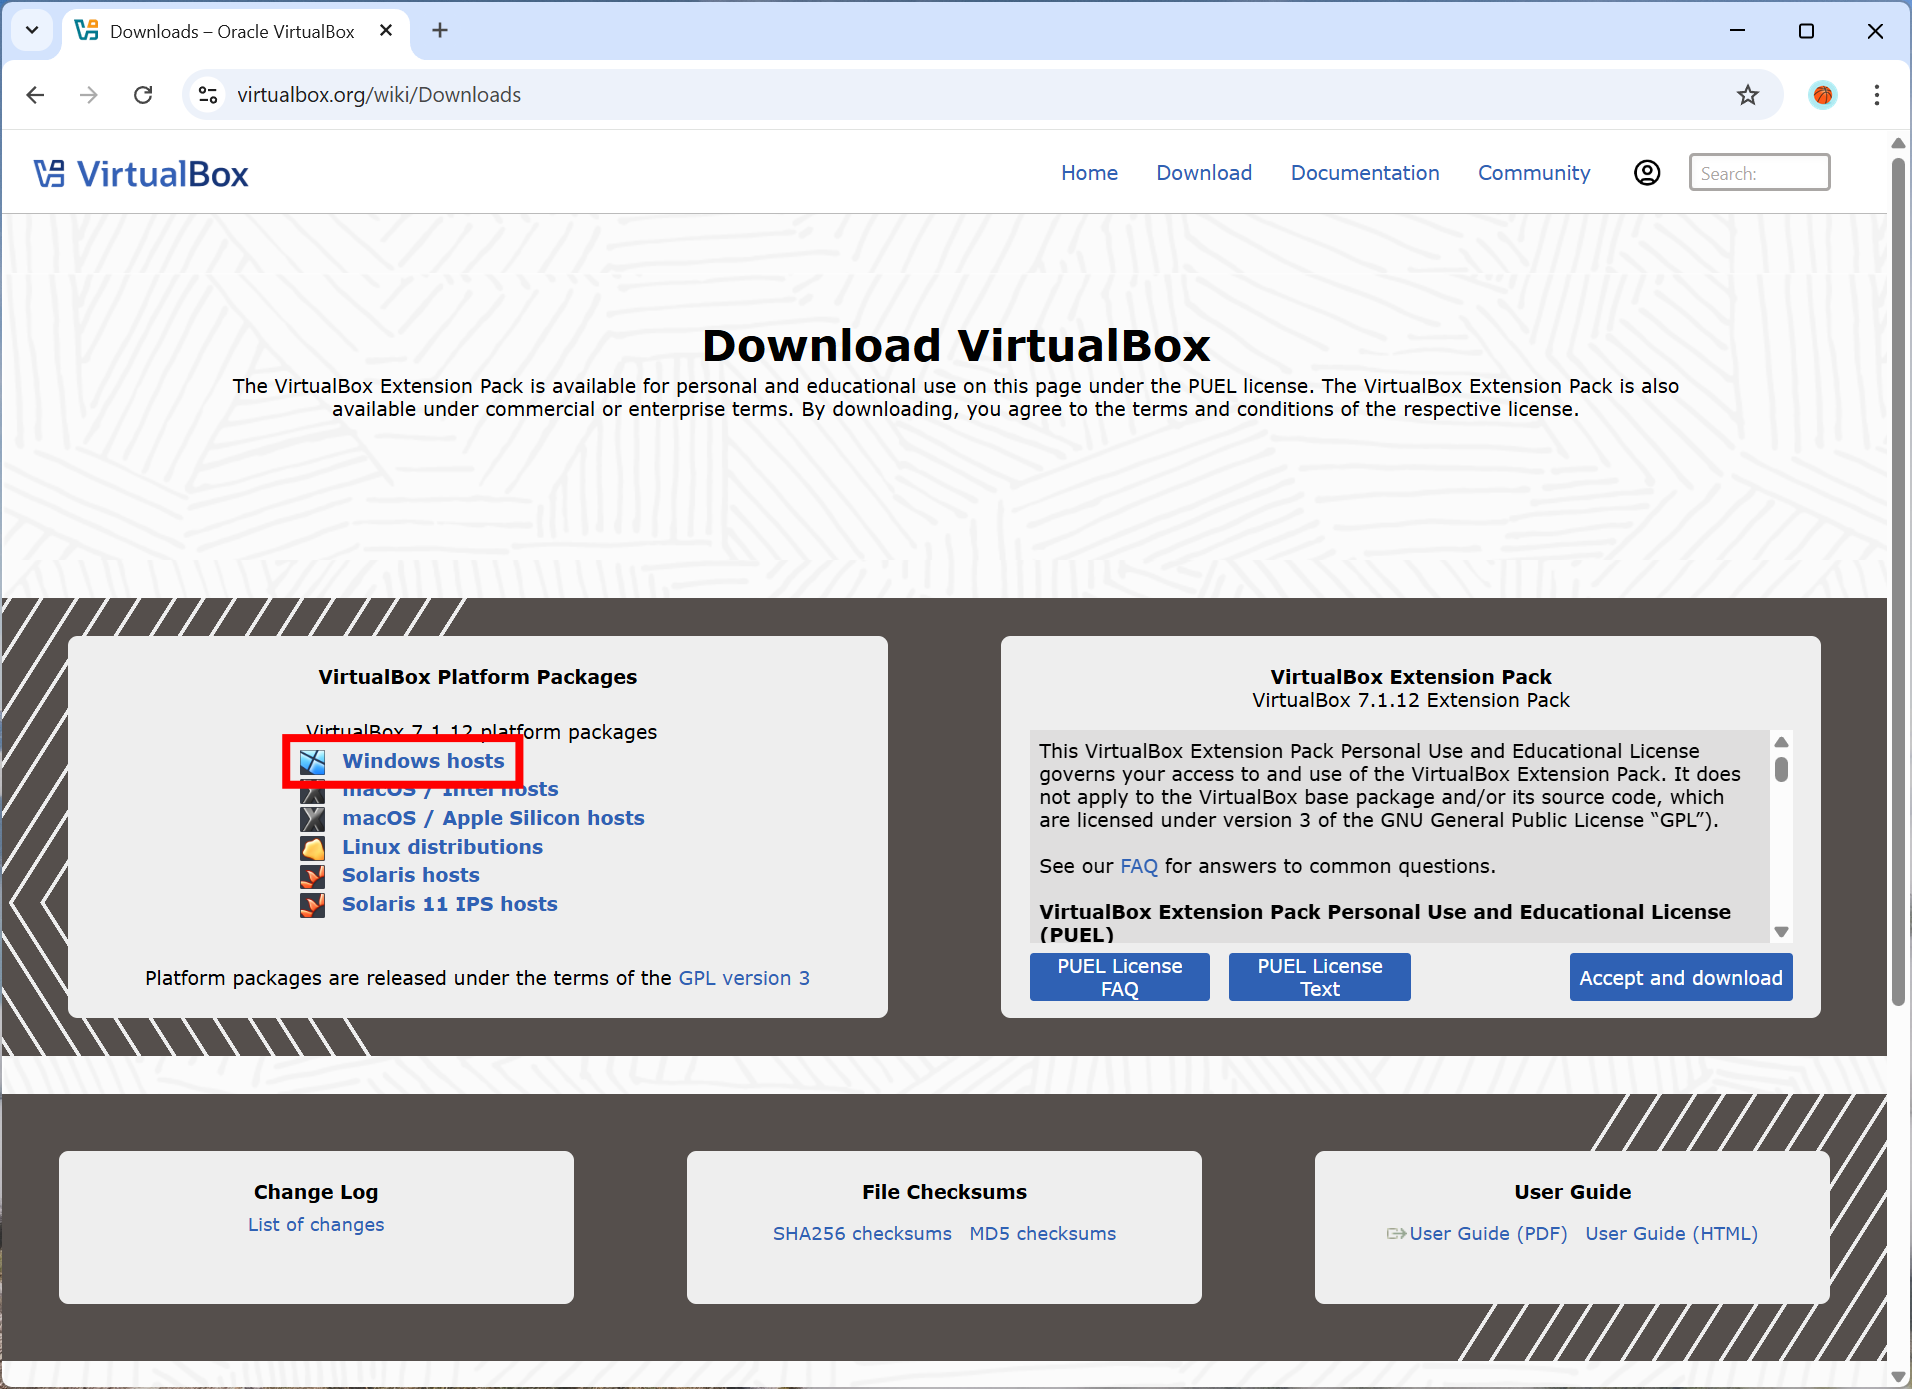
Go to the VirtualBox download page and download the latest version of VirtualBox for Windows hosts.
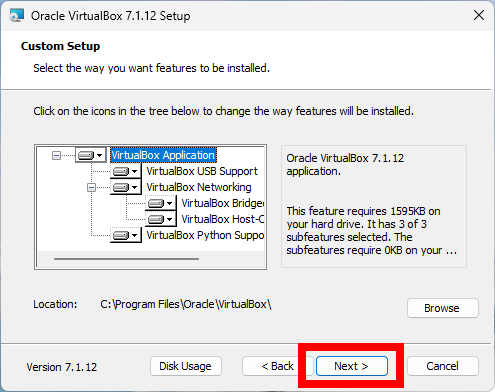
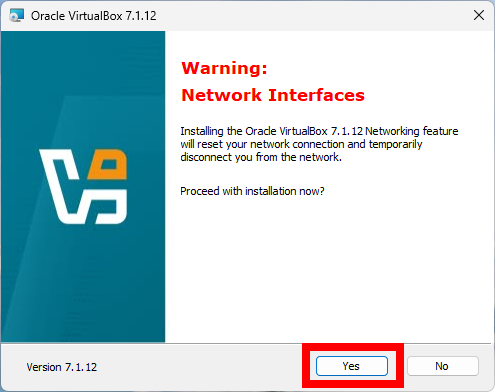
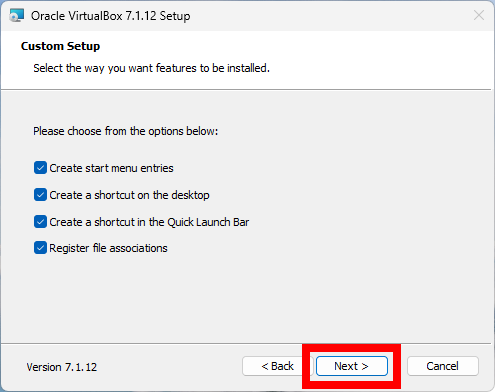
Run the Installer
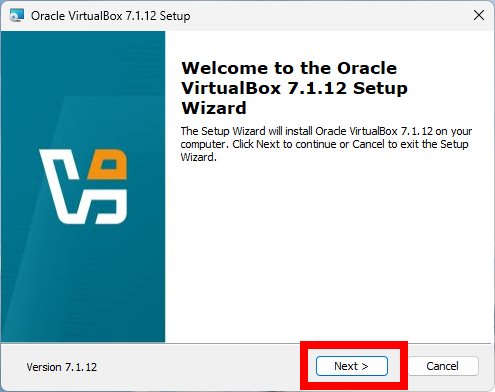
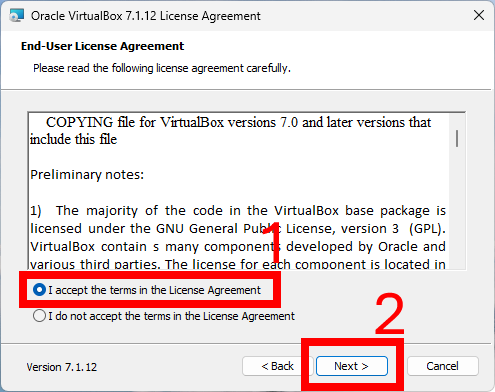
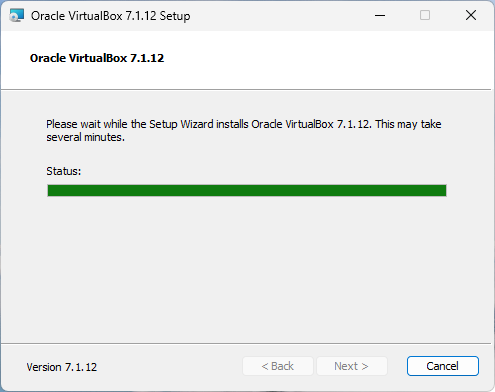
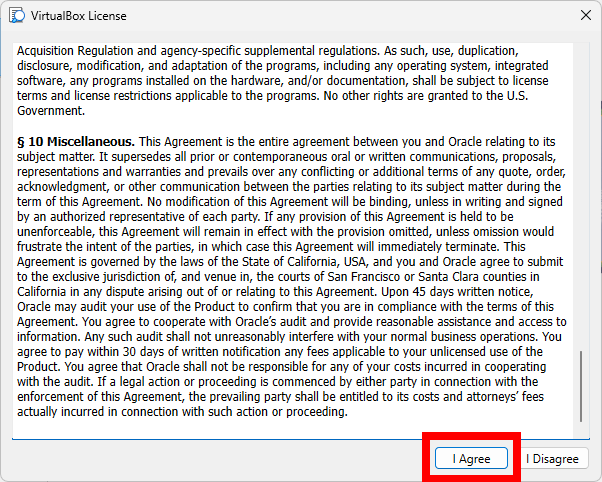
Once the download is complete, run the installer executable file. You may need to grant permission to run the installer. The installation wizard will guide you through the process. You can choose the default options (which are usually sufficient for most users) or customize the installation according to your preferences. Here, I am going to use the default options.


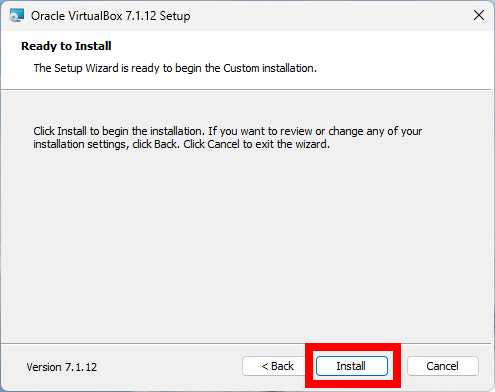
Complete the Installation
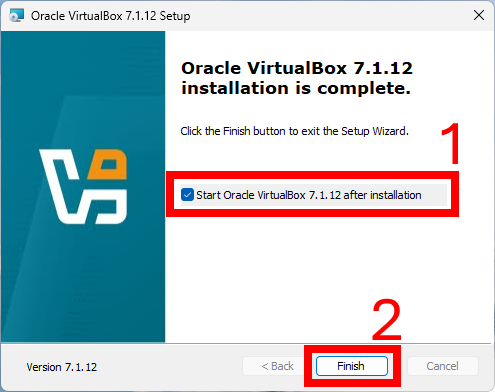
After the installation is complete, you will see a confirmation screen. You can choose to start VirtualBox immediately or close the installer. If you choose to start VirtualBox, you will see the main window of the application.

Fixing Missing Dependencies: Python Core / win32api
You might encounter a warning related to missing dependencies: Python Core / win32api during the installation of the VirtualBox, as shown in the screenshot.
This is not an error but a warning and can be ignored during the installation process, and VirtualBox will work fine without it. However, if you want to use Python scripts to control VirtualBox, you will need to install the required Python dependencies as described below.
Consider installing Python if you haven't already. You can download it from Python.org. As Python installation is not within the scope of this article, I assume you already have Python installed on your system.
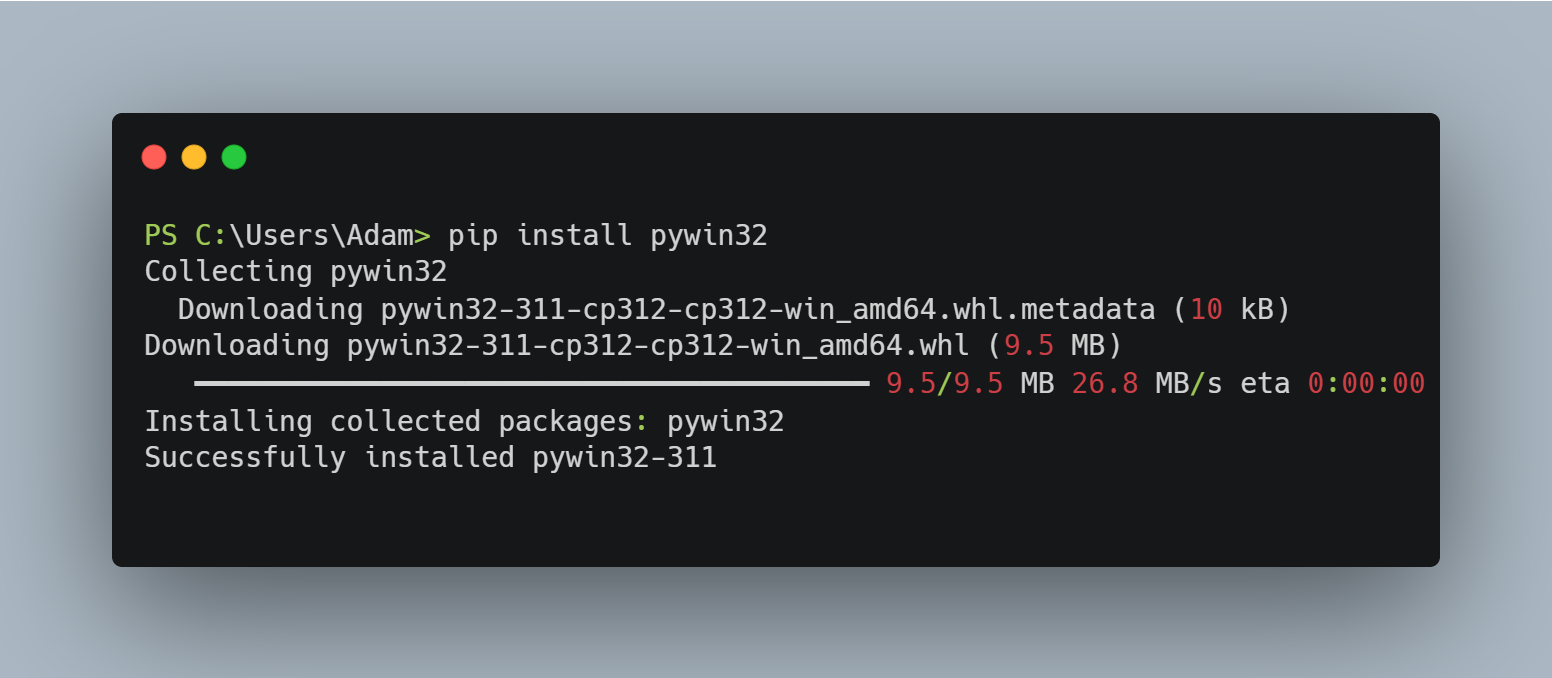
Open Windows PowerShell or Command Prompt as an administrator and run the following command to install the required packages:
- PowerShell
- Batch
pip install pywin32
pip install pywin32
After the installation is complete, you can verify it by running the following command:
- PowerShell
- Batch
python -c "import win32api; print(win32api.GetVersion())"
python -c "import win32api; print(win32api.GetVersion())"
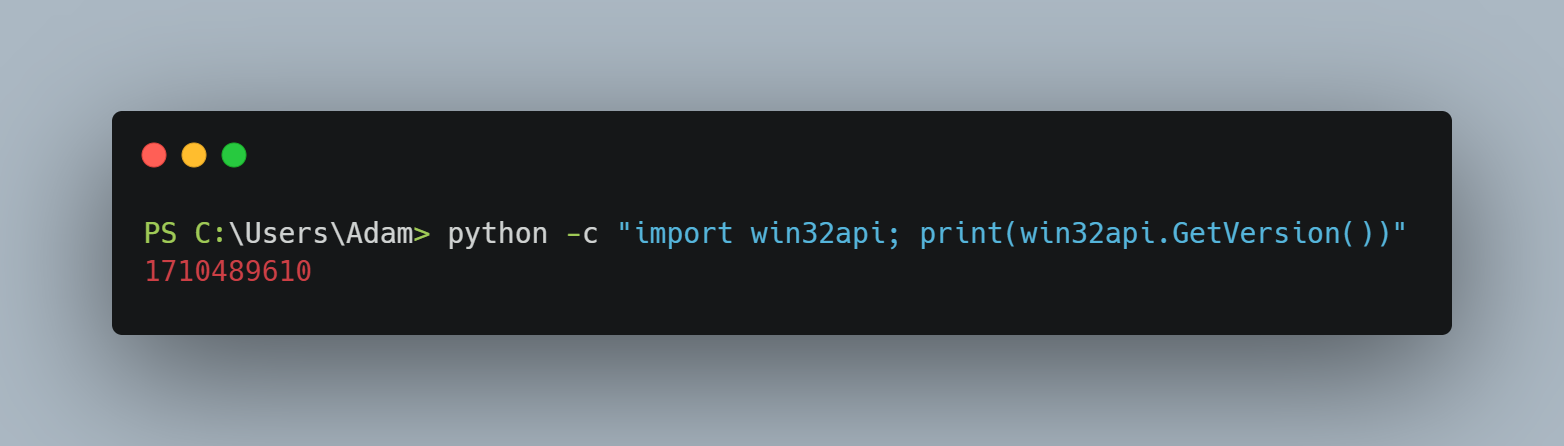
If you see the version number printed, the installation was successful.
VirtualBox Extension Pack
After installing VirtualBox, it is recommended to install the VirtualBox Extension Pack, which provides additional features and support for USB devices, remote desktop, and other functionalities. Check this video for more information: What is VirtualBox Extension Pack?.
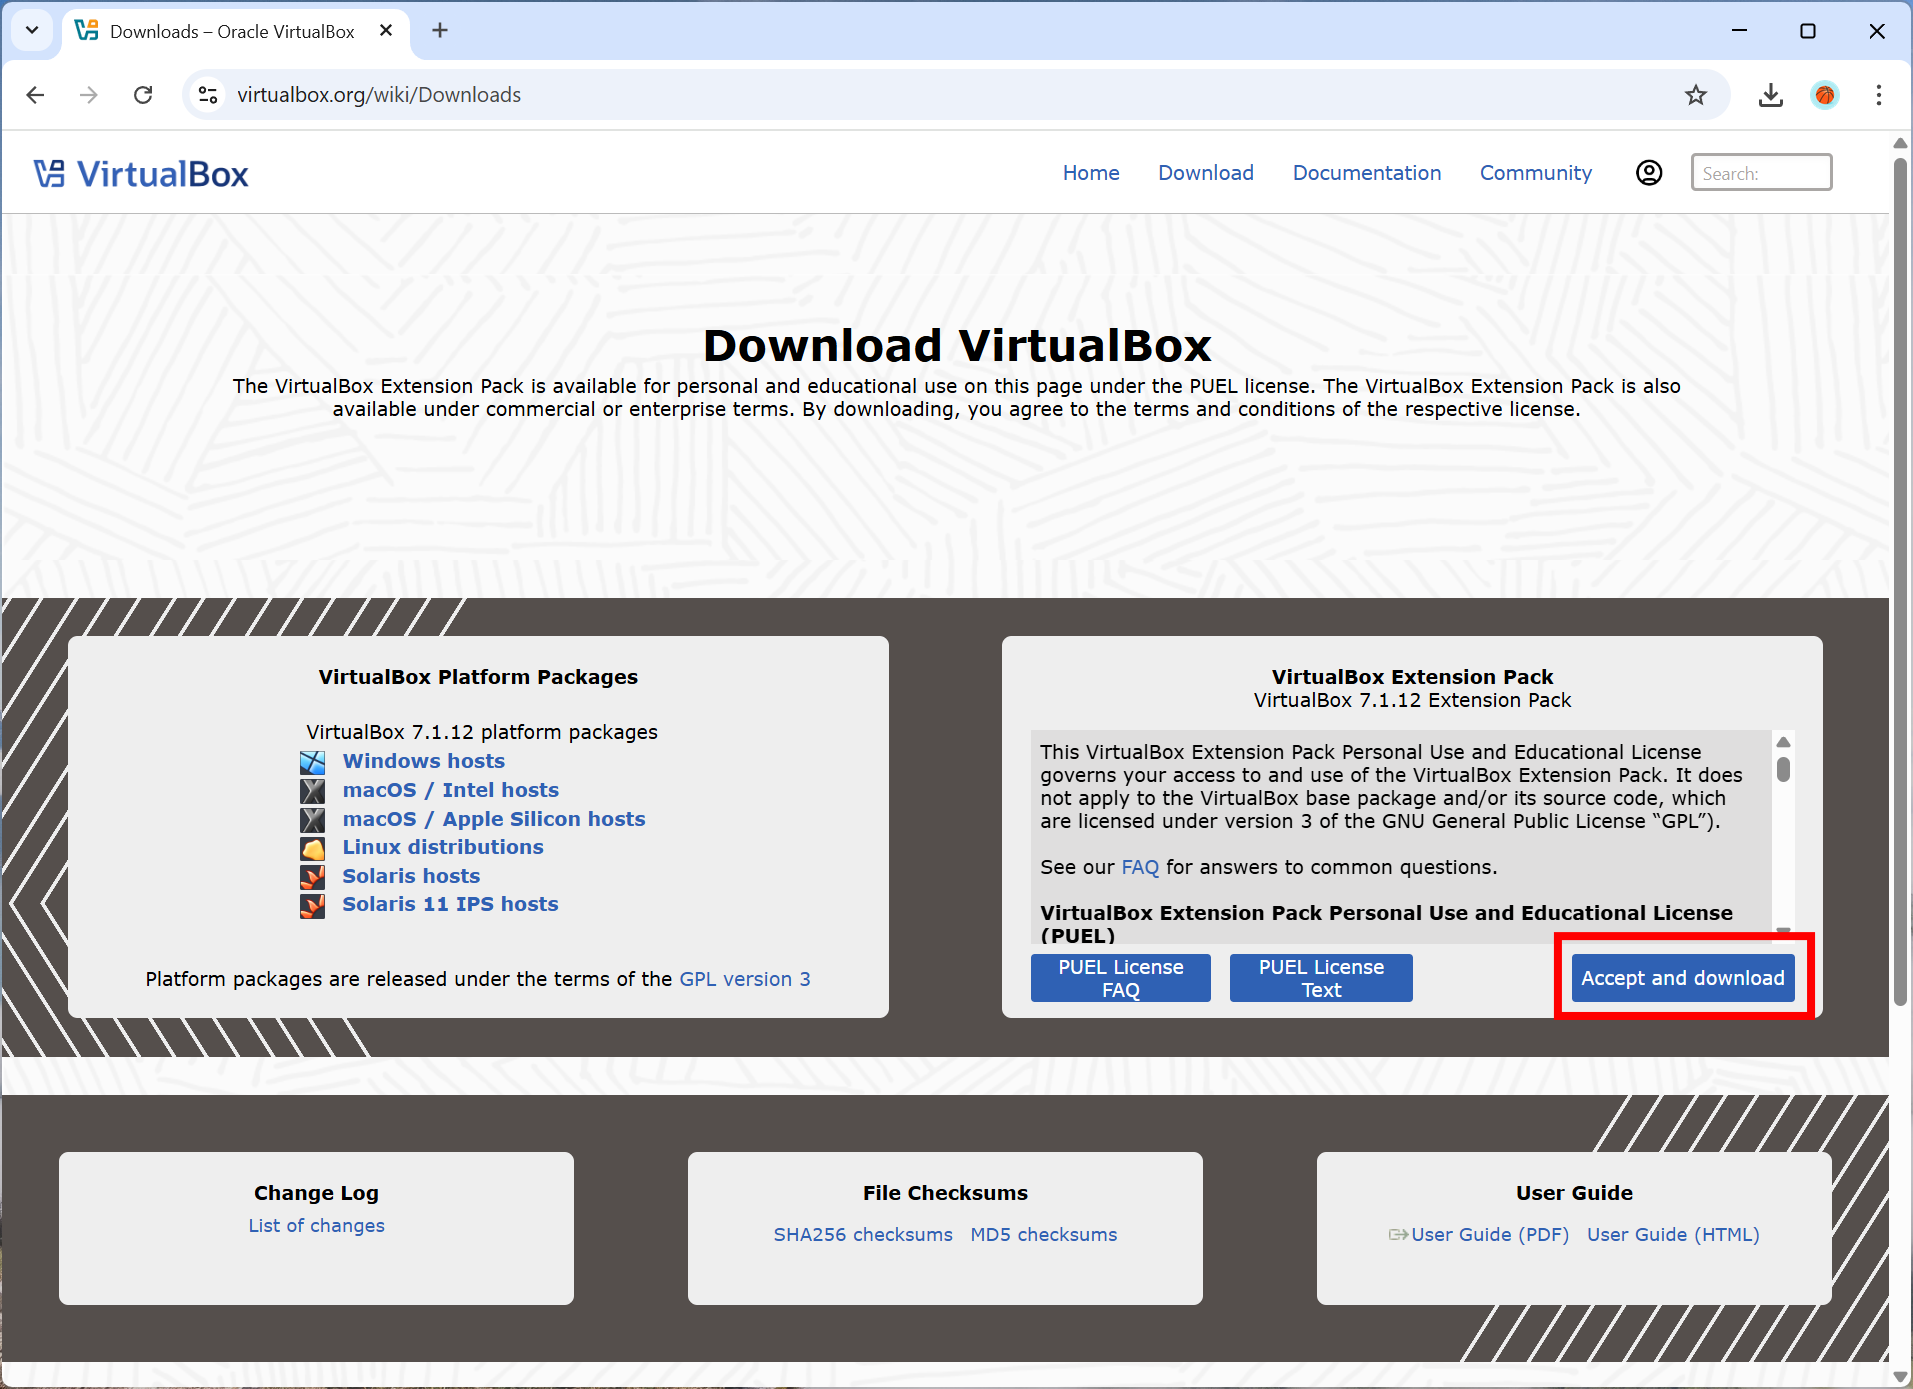
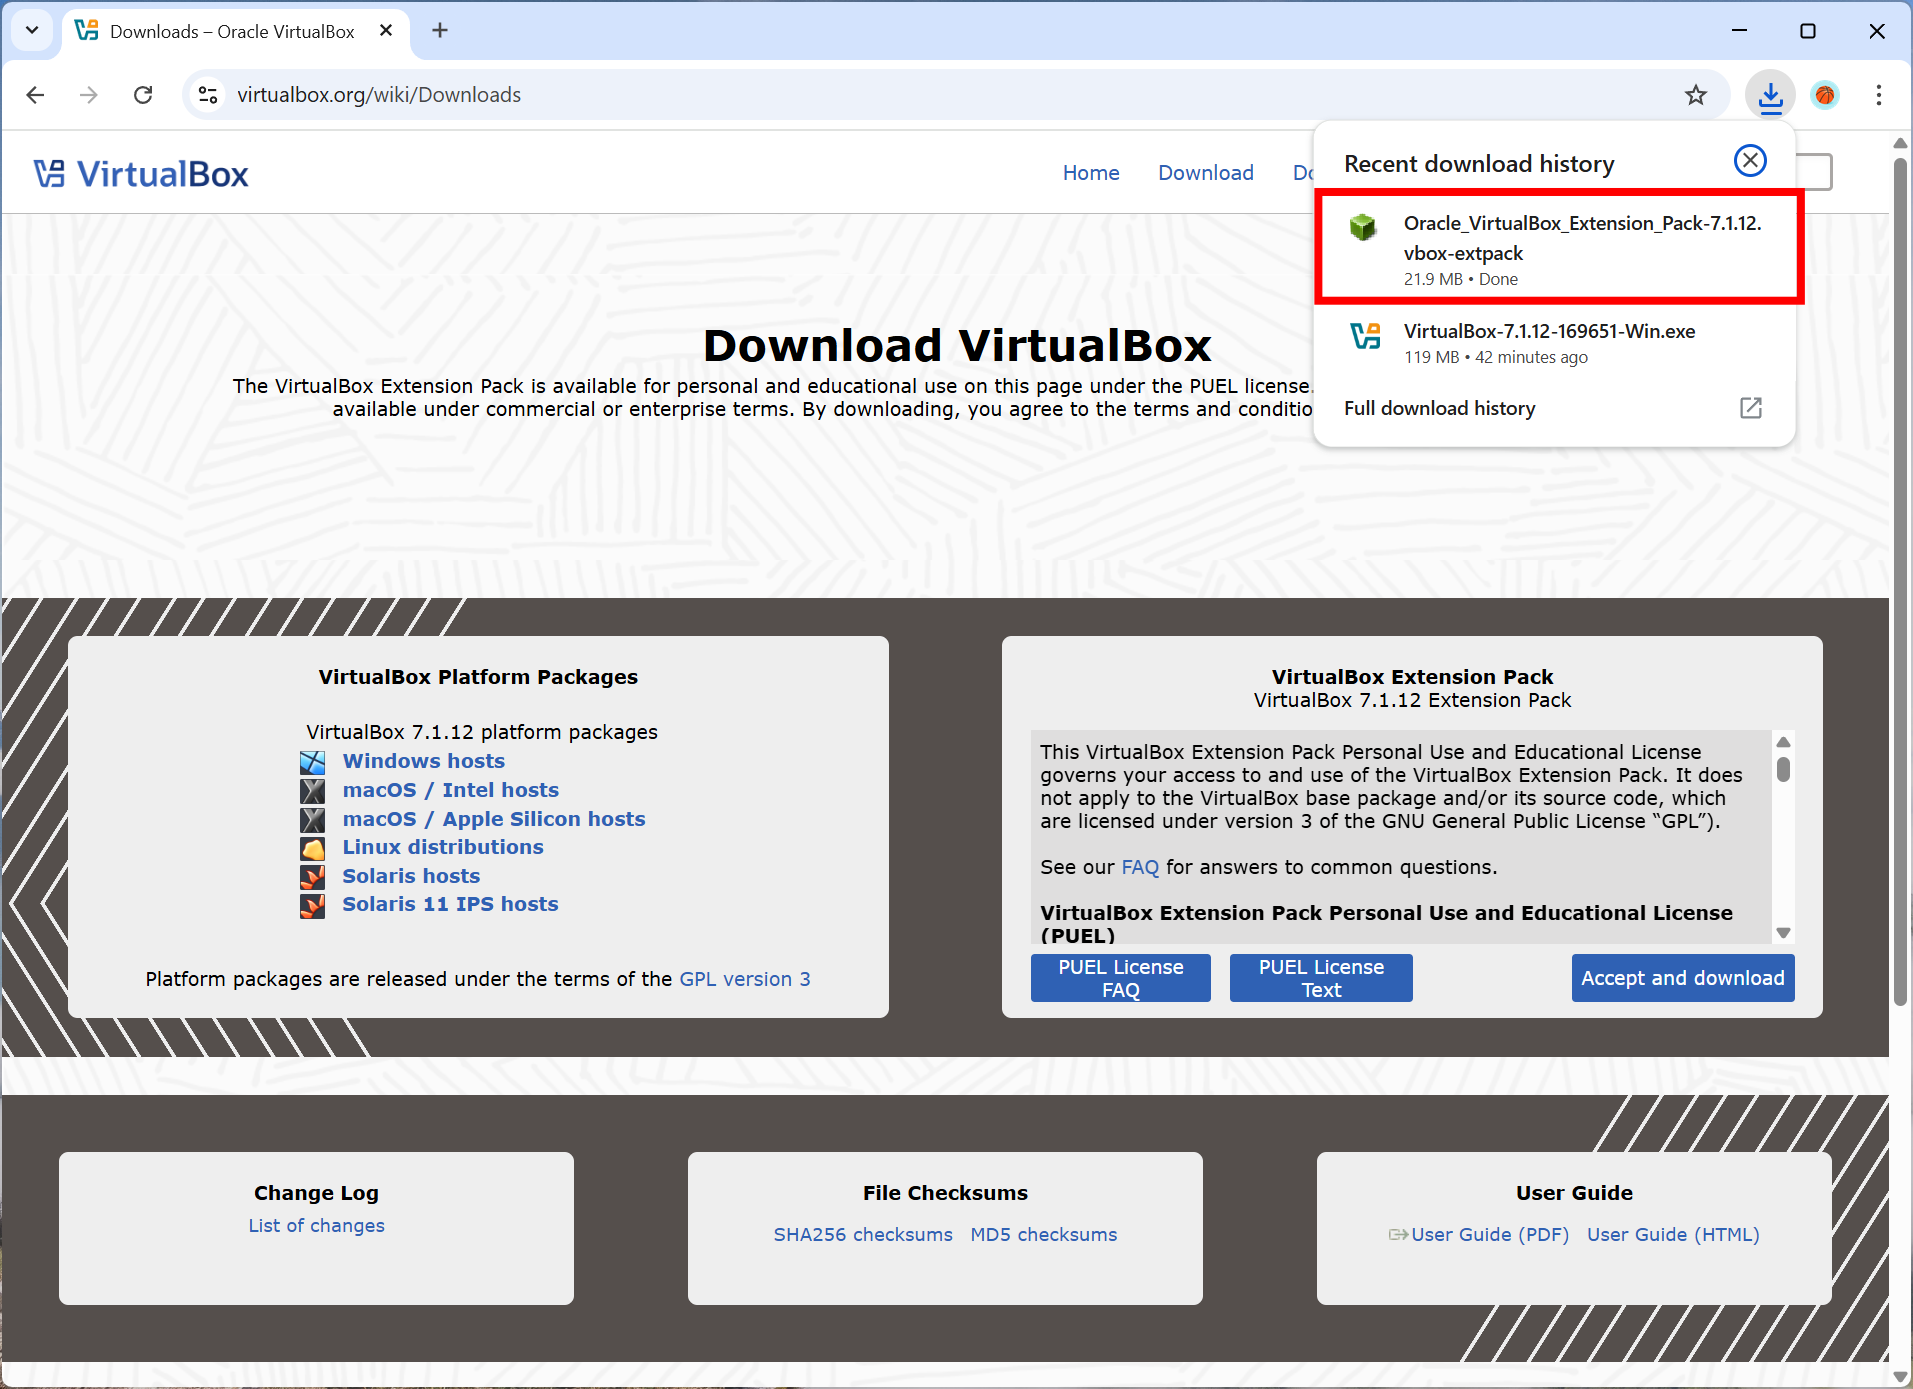
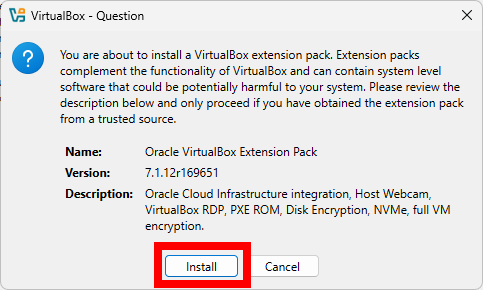
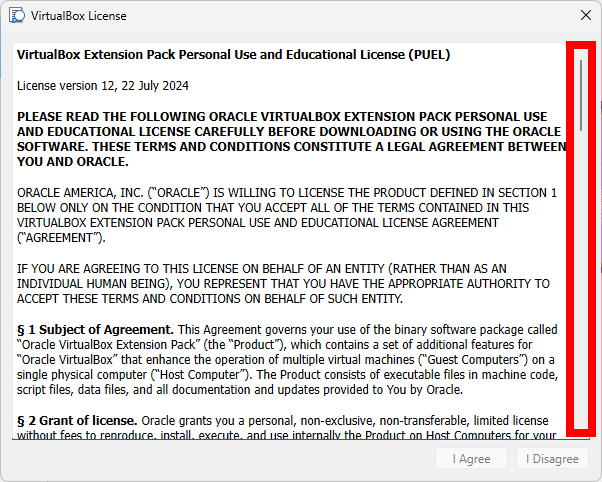
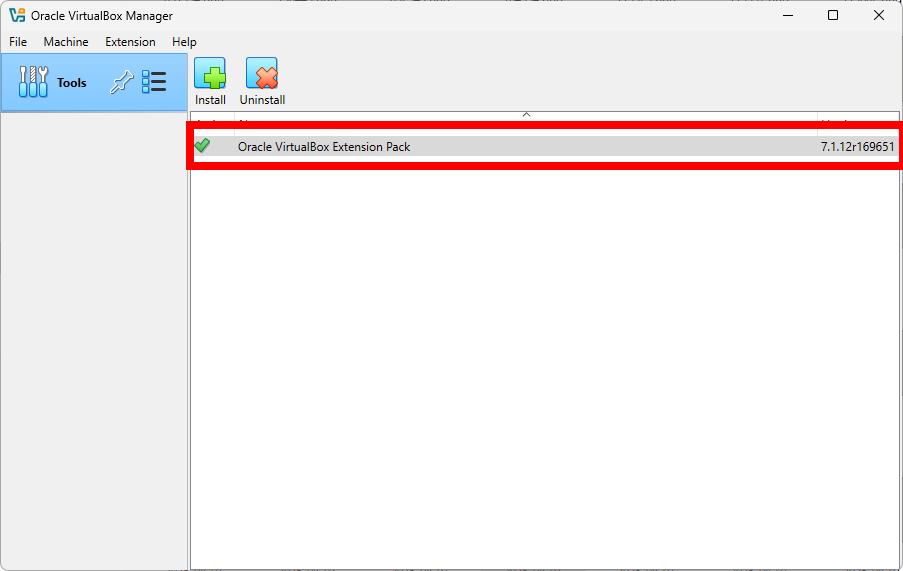
You can download the Extension Pack from the VirtualBox download page and install it by double-clicking the downloaded file. Follow the prompts to complete the installation.
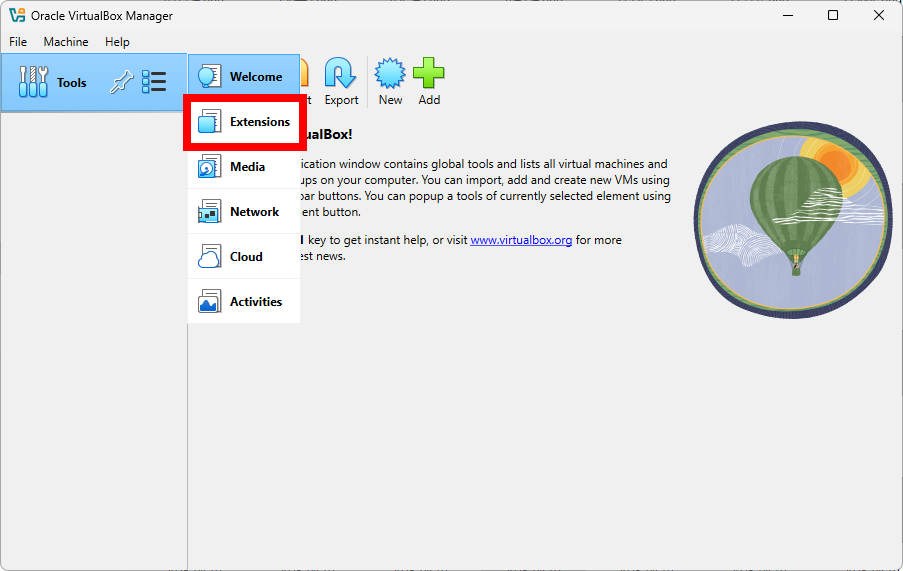
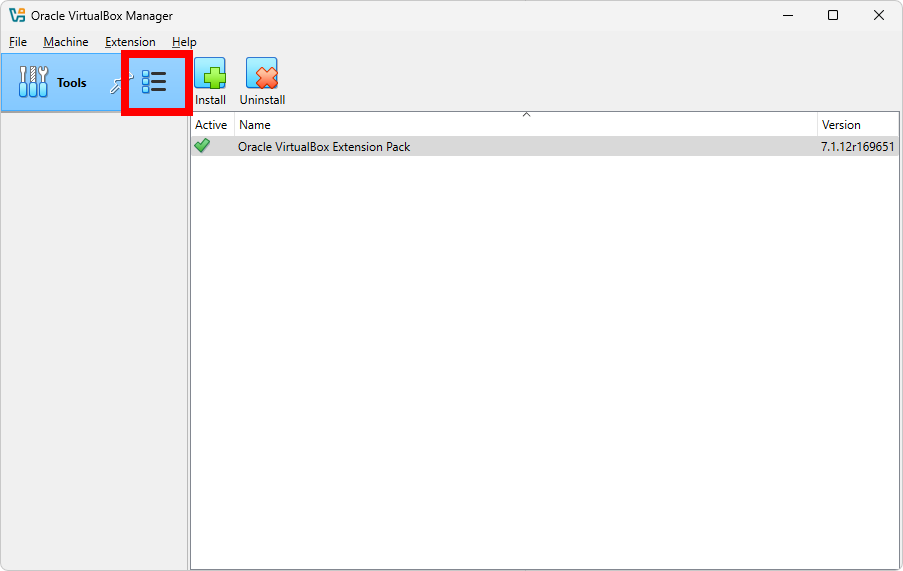
To verify the installation, follow these steps in the VirtualBox application:
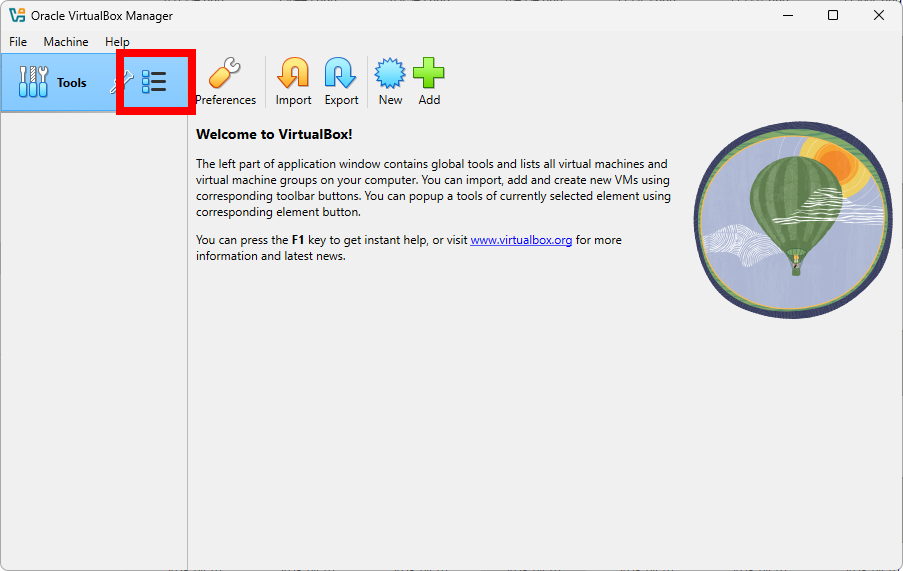
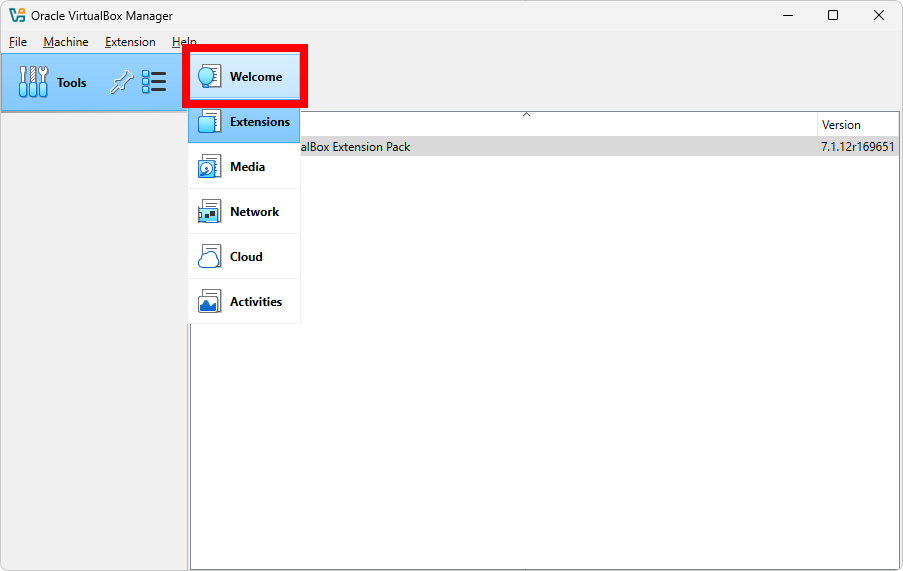
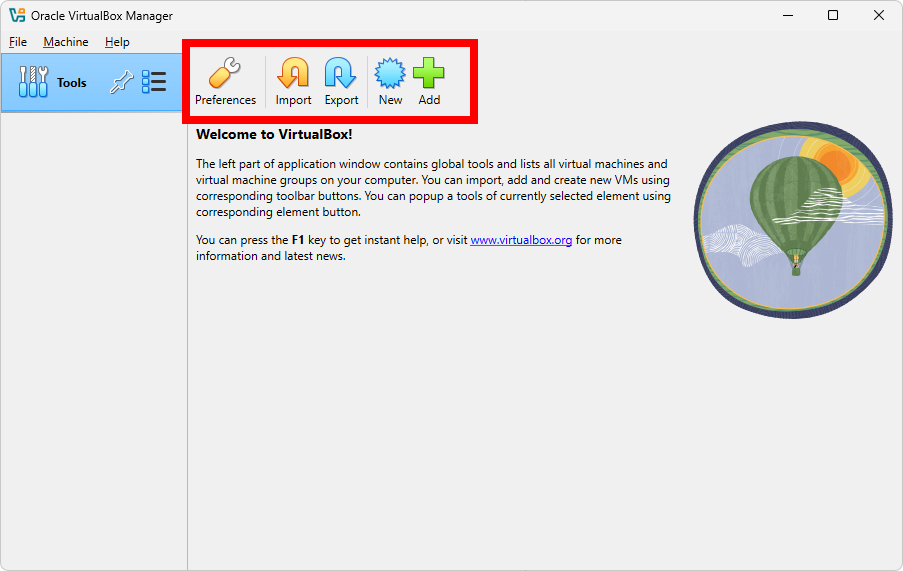
Back to Welcome Screen
The most important screen in VirtualBox is the Welcome screen, where you can see all your virtual machines, create new ones, and manage existing ones. After the verification of the Extension Pack installation, you can return to the Welcome screen from the Tools menu as shown below:

Final Words
Now you have successfully installed VirtualBox on your Windows 11 machine and are ready to create and run virtual machines. In the future articles, I will cover how to create a virtual machine and install an operating system on it.
Future Articles
In the future articles, I will cover the following related topics:
- Creating and managing virtual machines
- Configuring networking in virtual machines
- Using snapshots and backups
- Hypervisors, their types, and other virtualization software
- Advanced topics in virtualization
- Installing Python on Windows 11
- Using VirtualBox with Python scripts